Step by Step Pirate Drawing
It may seem hard to believe these days, but in the past the oceans were ruled by many pirates sailing the seven seas for adventure and plunder.
These days, the golden age of piracy is often depicted in many forms of media from movies and video games to books and songs. We can't seem to get enough of these swashbuckling rogues, and learning how to draw a pirate is a great way to relive this classic era.
By the end of this guide, you will be able to draw your own awesome pirate!
We hope that you have a great time having a drawing adventure with this step-by-step guide on how to draw a pirate in 7 steps!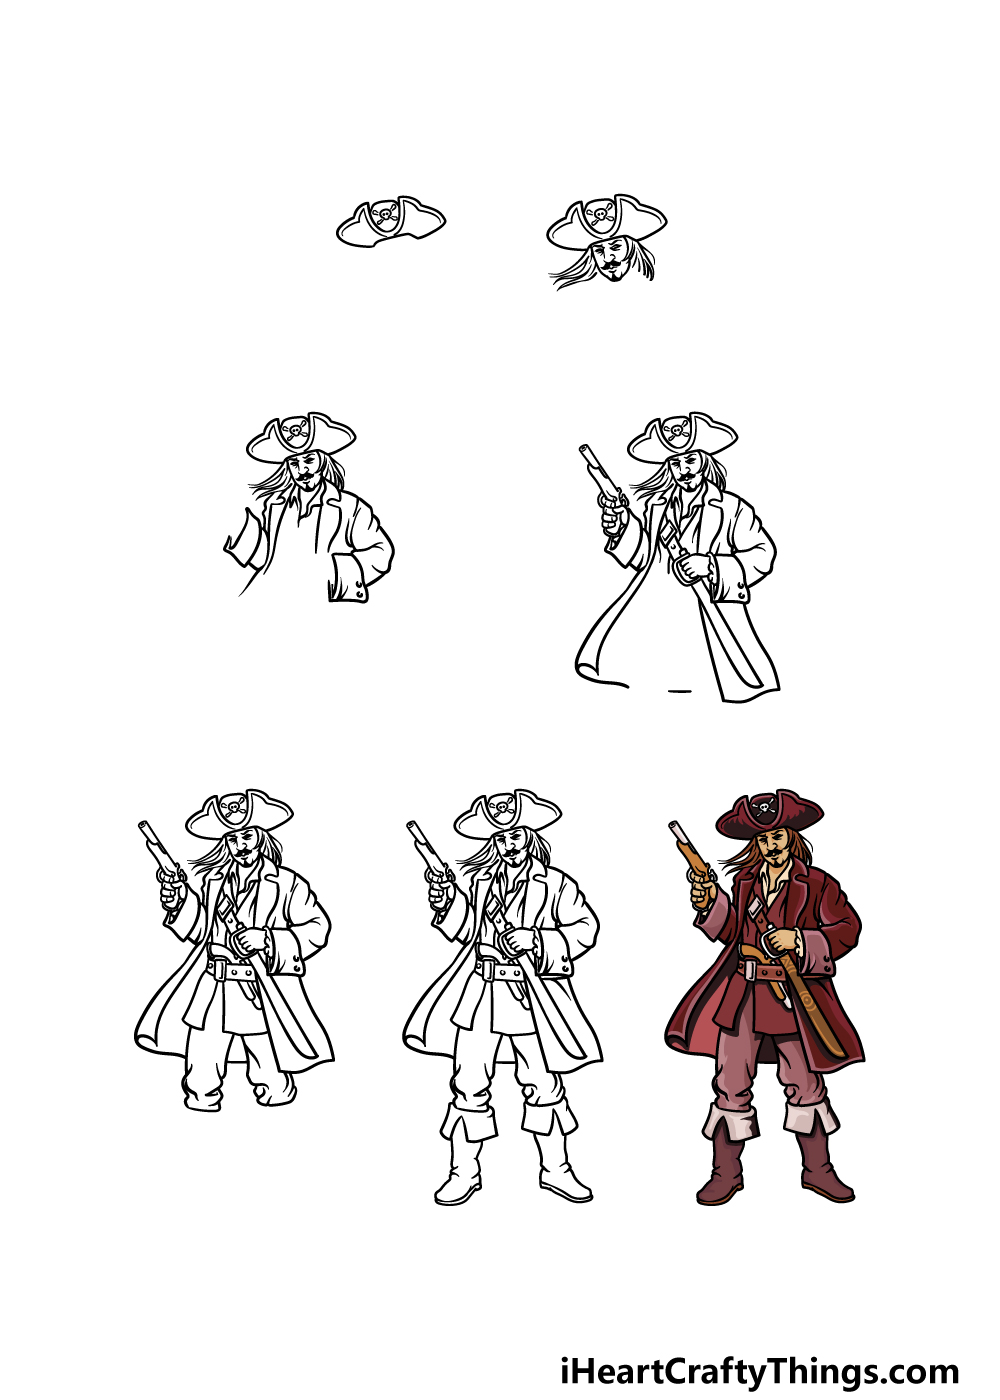
What's in this Blog Post
- How to Draw A Pirate – Let's get Started!
- Step 1
- Step 2 – Start drawing the face and hair
- Step 3 – Next, draw his coat
- Step 4 – Now draw more of his coat and weapons
- Step 5 – Draw the bottom of his shirt and start his legs
- Step 6 – Now, finish off the final details
- Step 7 – Finish off your pirate drawing with some color
- Your Pirate Drawing is Complete!
How to Draw A Pirate – Let's get Started!
Step 1
Every great pirate needs a cool hat, and that is what we will start with in this guide on how to draw a pirate.
Pirate hats were often quite complex in structure, and we will be going with a classic design for this one.
Using the reference image as your guide, use some curved lines to replicate the hat, and then draw a small skull onto the center of the hat for an extra pirate twist!
Step 2 – Start drawing the face and hair
Now that you have the hat for your pirate drawing done, we can start to draw his face. We will be using some pretty simple lines for the outline and facial features for his head, and he will also have a mustache.
Then, we will use some more wavy lines coming out from around his head for his hair blowing in the breeze.
Step 3 – Next, draw his coat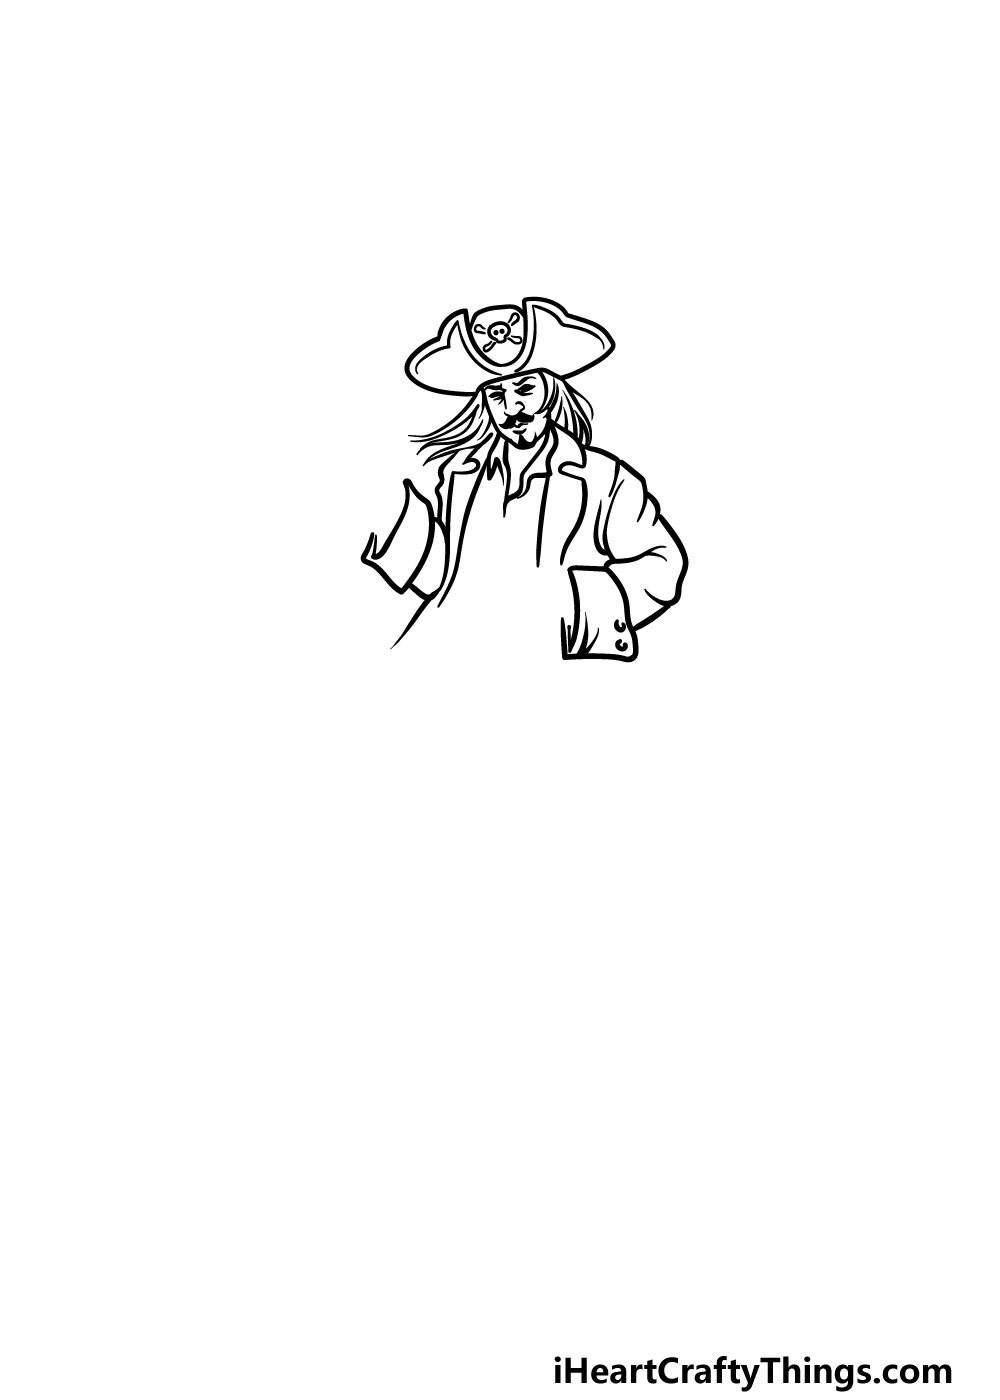
This next step in our guide on how to draw a pirate may look complicated, but if you take it slowly and follow the reference image then you should have no problems with it!
We will be drawing the start of his pirate coat and the collar of his shirt. We will start with that collar, which will go at the base of his neck and extend down to his chest.
Then, we can focus on his coat. This coat will sit quite loose on his arms and chest, and the cuffs at the end of the sleeves will be quite large.
The arm on the left will be raised a bit as he will be holding up a pistol in that hand. Then, the arm on the right will be more level as it will be resting on the sword at his hip.
Step 4 – Now draw more of his coat and weapons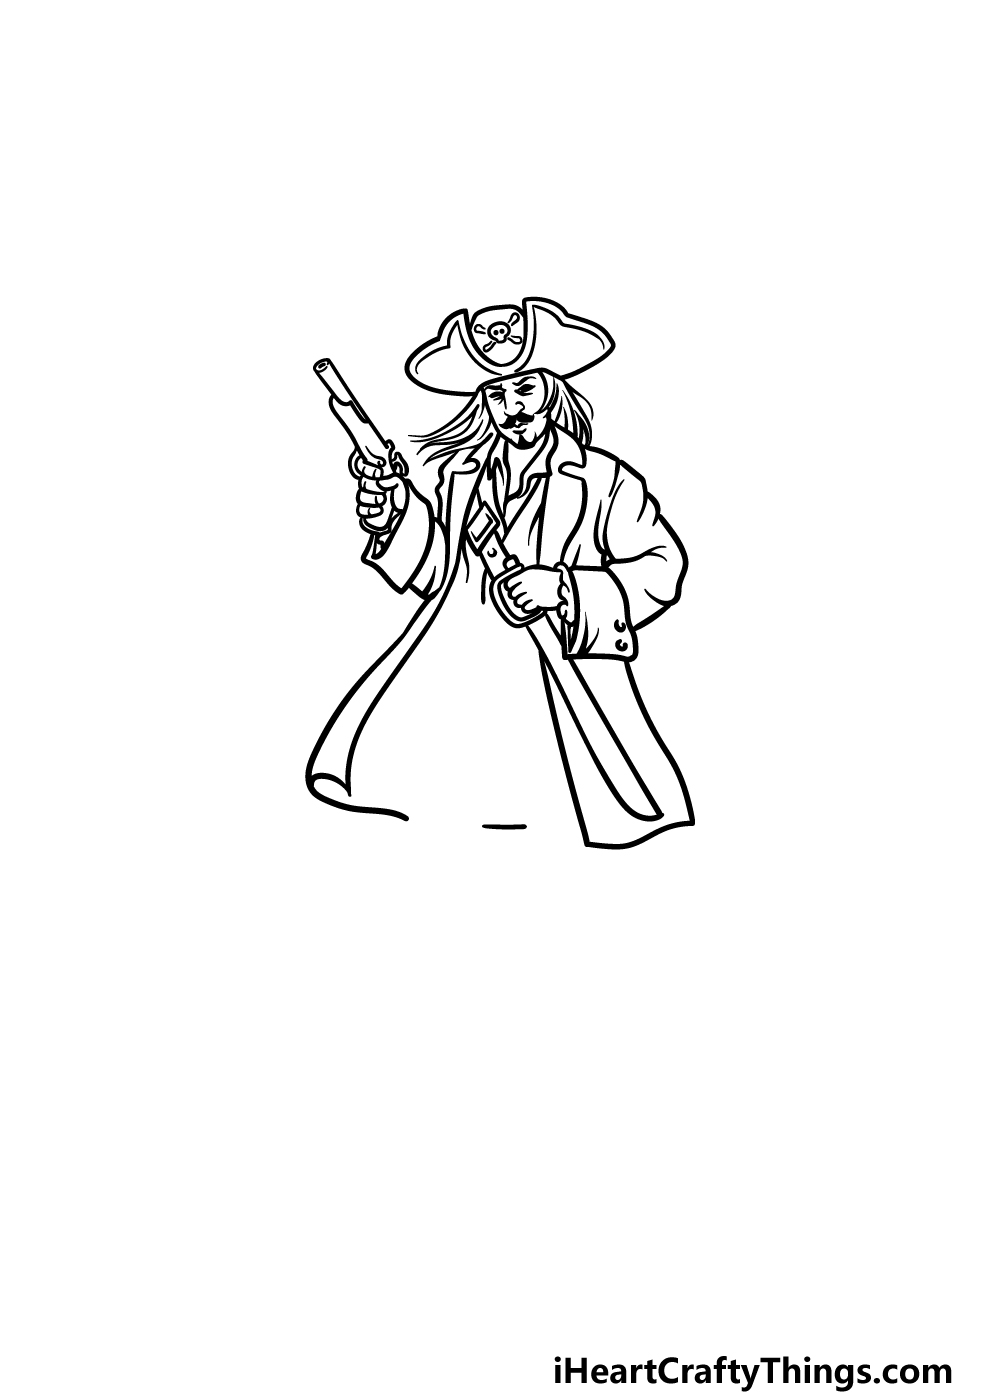
Pirates wouldn't be very intimidating without some weapons, and we shall add some for him in this part of your pirate drawing.
As mentioned previously, we will be drawing his hand clasping a flintlock pistol in the hand on the left.
Then, you can draw his other hand resting on his cutlass which you will draw with some curved lines. This cutlass will then be attached to a belt going diagonally across his chest.
Finally, finish off this step by drawing the bottom of his coat flowing in the breeze.
Step 5 – Draw the bottom of his shirt and start his legs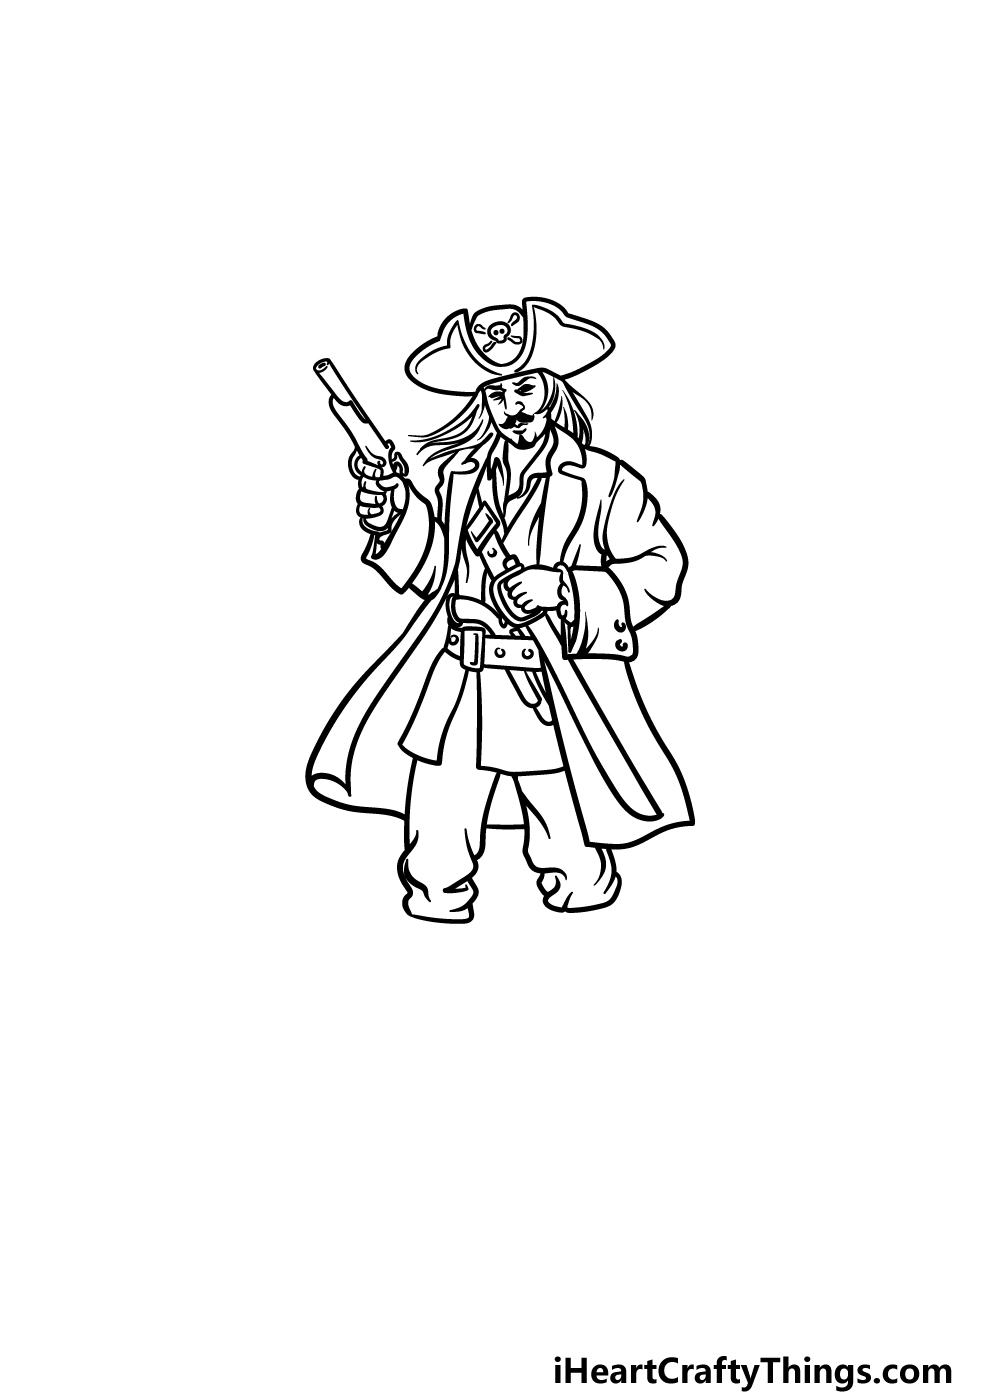
The top half of your drawing is pretty much done now, so we shall focus on the bottom for the next few steps of this guide on how to draw a pirate.
You can draw his belt under his waist, and there will be another pistol tucked into the belt. Then you can draw the bottom of his shirt coming down, and then use some curved lines for the start of his trousers.
Once you have done this, you're ready for some final details in the next step!
Step 6 – Now, finish off the final details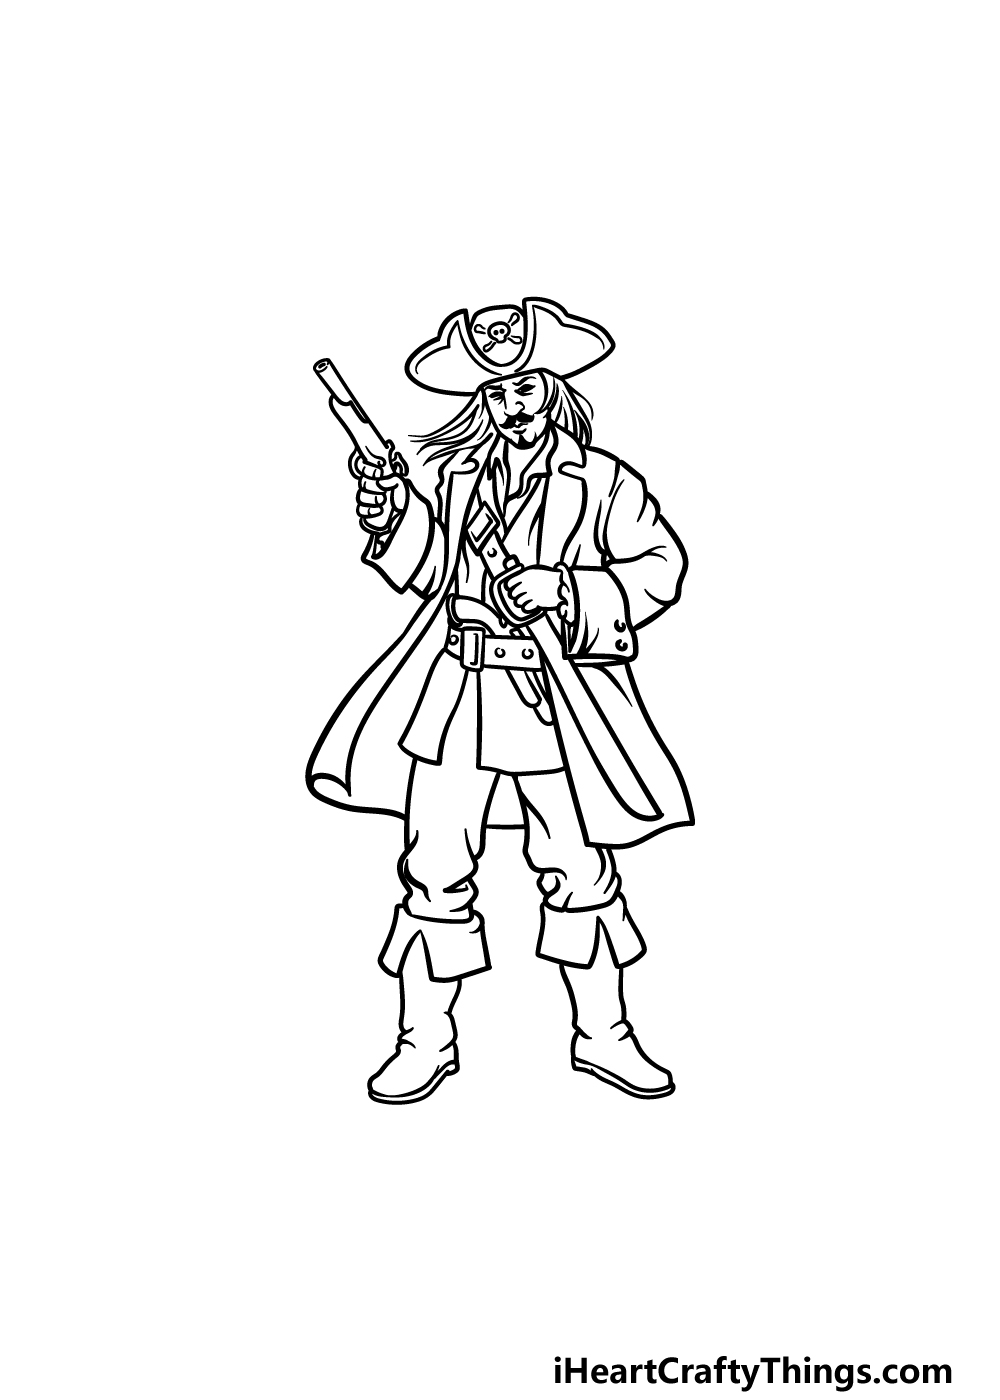
We will be finishing off your pirate drawing by adding the boots for him. The boots will have a section near the top that folds over, and then you can use some more curved lines for the bottom half of the boots.
Once you have replicated the boots as they look in our reference image you're ready for the final step! Before you do, you could add some more details of your own.
Maybe you could draw a parrot on his shoulders or a treasure chest nearby to him. You could also draw a background to show what kinds of adventures this pirate has been embarking on.
Step 7 – Finish off your pirate drawing with some color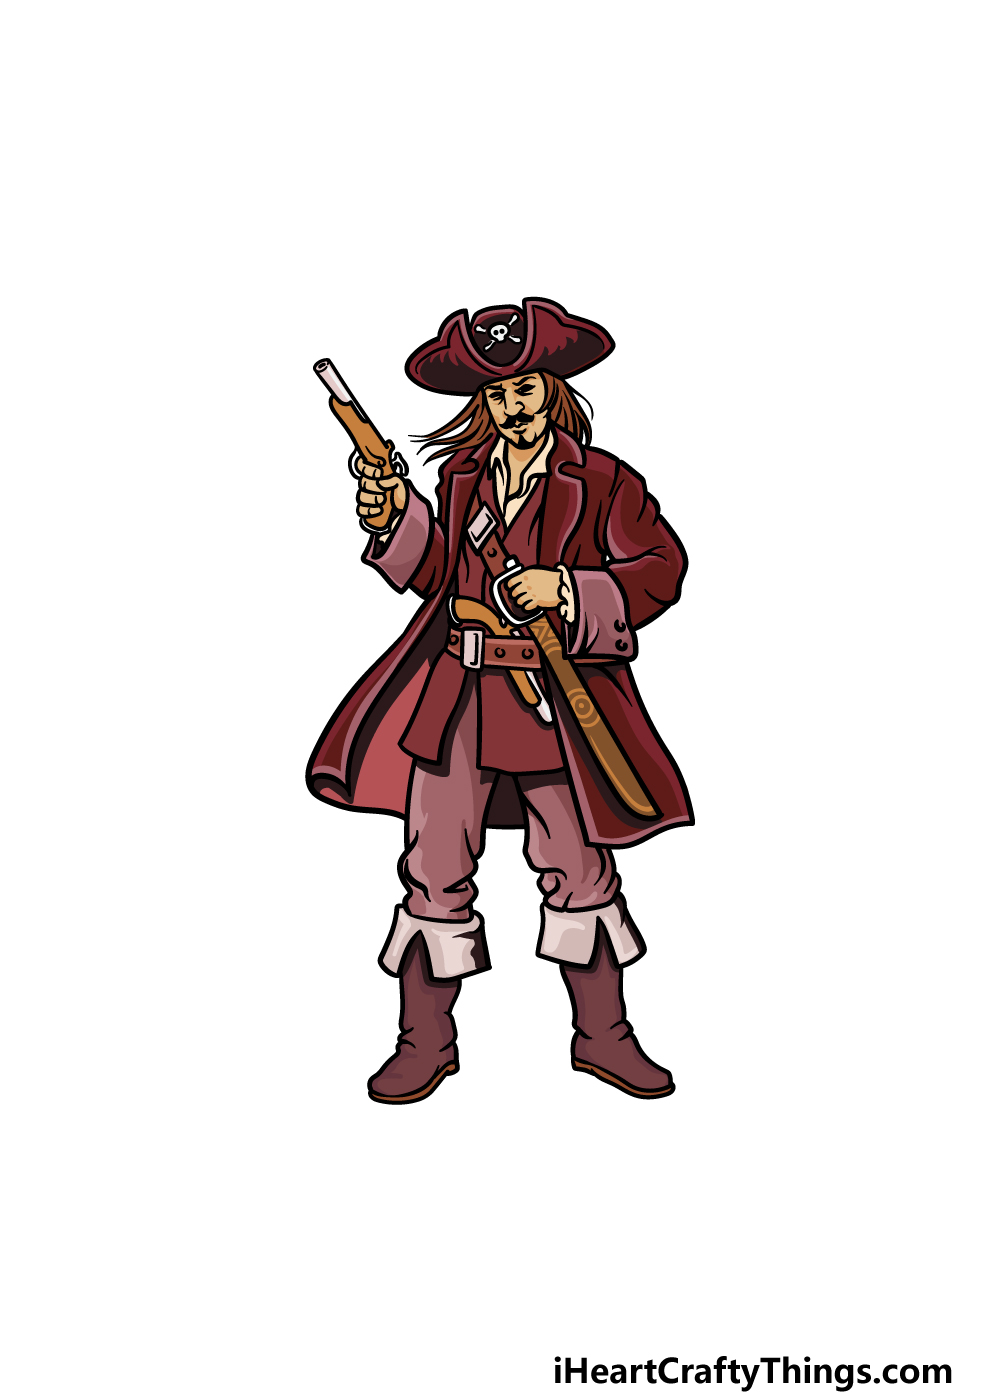
Now that you have reached the final step of this guide on how to draw a pirate, you can put down your pens or drawing pencils and start having some coloring fun! In our reference image, we used some browns and dark maroon colors for the clothes of the pirate, but these colors are just a suggestion.
You could experiment with any colors that you like for this picture
Once you know what colors you would like, you can then choose what art mediums and tools you will use to finish it off.
There are many different colors and art medium combinations you could use to finish off this drawing and we can't wait to see what you decide on!
Your Pirate Drawing is Complete!
You have reached the end of our guide on how to draw a pirate, and you have landed up with a cool buccaneer to show for it!
This was a bit of a complicated drawing to take on, but we know that if you follow the steps in this guide and take it slow that you will be able to do it easily!
Once you have mastered this drawing, you can also create your own variations by changing details such as his clothing and other features for a unique pirate character.
Then you can draw a cool background or add some pirate objects and characters for him to interact with. Be sure to have fun and get creative with it!
Your drawing journey can continue on our website where we have tons of amazing guides for you to enjoy. This list of guides grows often too, so you'll want to visit often to never miss out!
We would love to join your pirate adventures, so once your pirate drawing is complete please be sure to share it on our Facebook and Pinterest pages.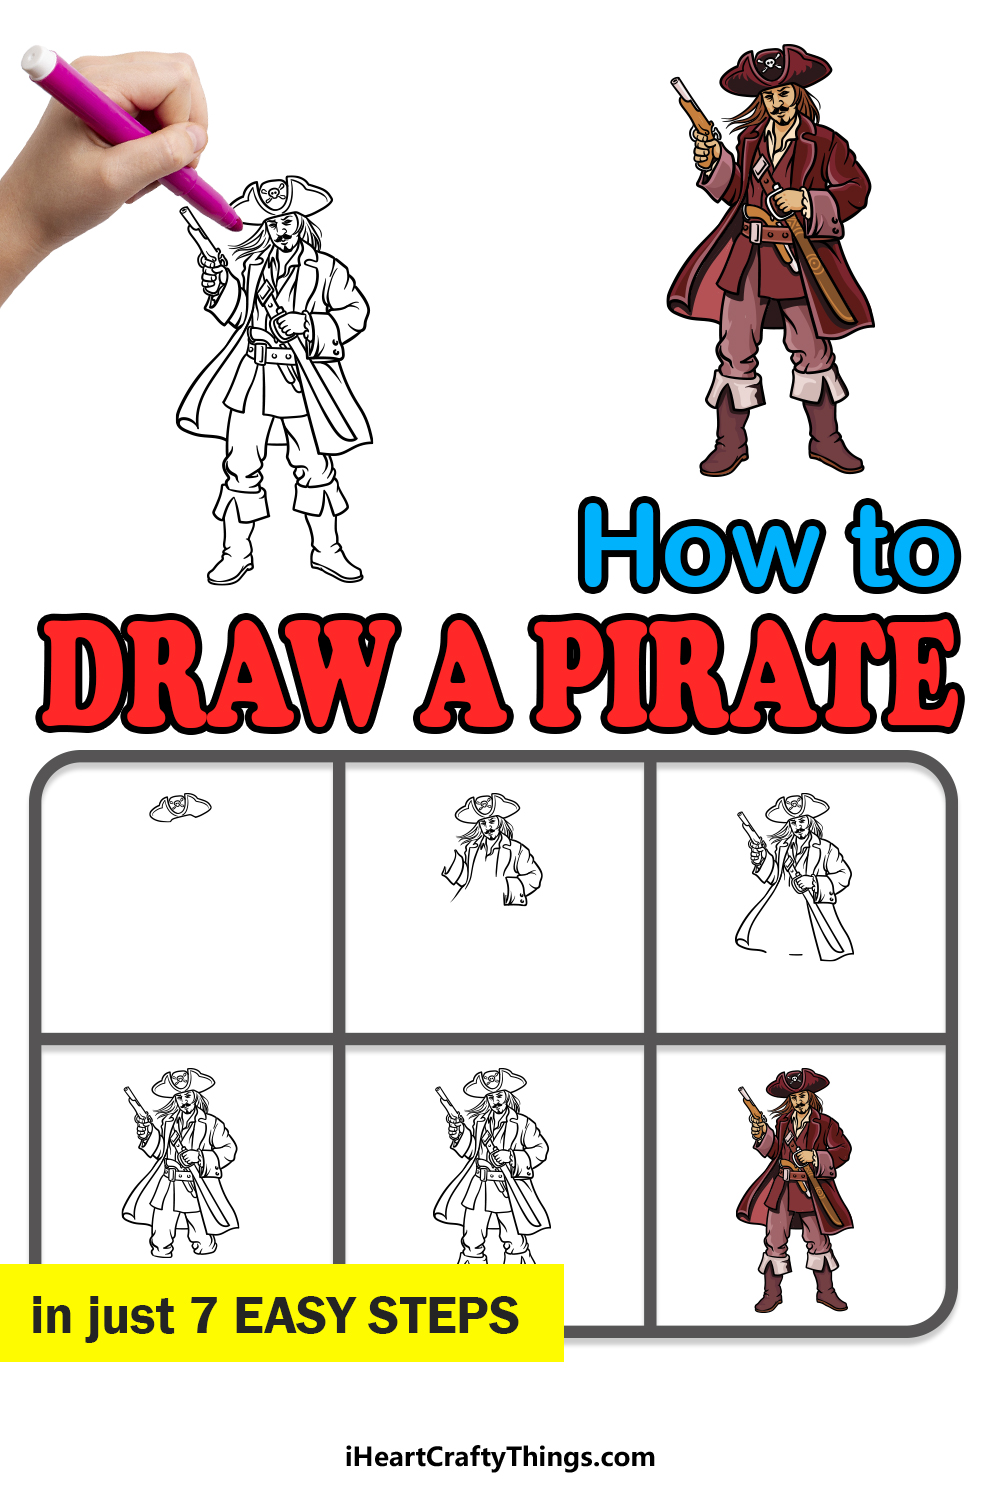
Source: https://iheartcraftythings.com/pirate-drawing.html
0 Response to "Step by Step Pirate Drawing"
Post a Comment